While the availability of most of the components is pretty high, there are some parts that will be hard to come by.
Smooth Rods (8mm)
Six of these are needed to for the three axis that will be traversed during printing. While the design calls for 4 x 17.5cm rods and 2 x 22cm rods, coming by these dimensions may be difficult. So I am prepared to substitute and use other lengths.
Threaded Rod (M5)
The metric M5 threaded rod will also have to be sourced. Threaded rods in my location are all based on English units which makes a difference in the configuration of the printer.
The rest of the parts should be readily source-able...
| Description | Price | Quantity | Total |
| 12 - LM8UU Linear bearings | $8.08 | 1 | $8.08 |
| 2 - GT2 Pulleys + GT2 Belt | $5.24 | 1 | $5.24 |
| 10 - 624 Bearings | $2.76 | 1 | $2.76 |
| Bowden Extruder Drive + NEMA 17 Stepper | $17.50 | 1 | $17.50 |
| PTFE Tube | $2.00 | 1 | $2.00 |
| Arduino Mega + RAMPS 1.4 + 4xA4988 | $22.79 | 1 | $22.79 |
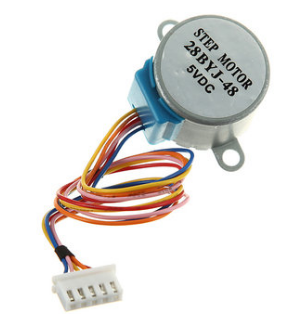
| 28BYJ-48 Stepper Motor | $1.65 | 4 | $6.60 |
| 3 - Endstop Switches | $2.69 | 1 | $2.69 |
| Hotend | $9.99 | 1 | $9.99 |
| $77.65 |